Illustrator
How to Create an Organic Brush in Adobe Illustrator
Want to learn how to make a unique, organic brush in Adobe Illustrator with playful shapes and colorful variations?
In this step-by-step tutorial, I’ll show you how to use the Roughen Tool and a Scatter Brush to create a lively, hand-drawn effect that works perfectly for creative illustrations and backgrounds.
Final Result
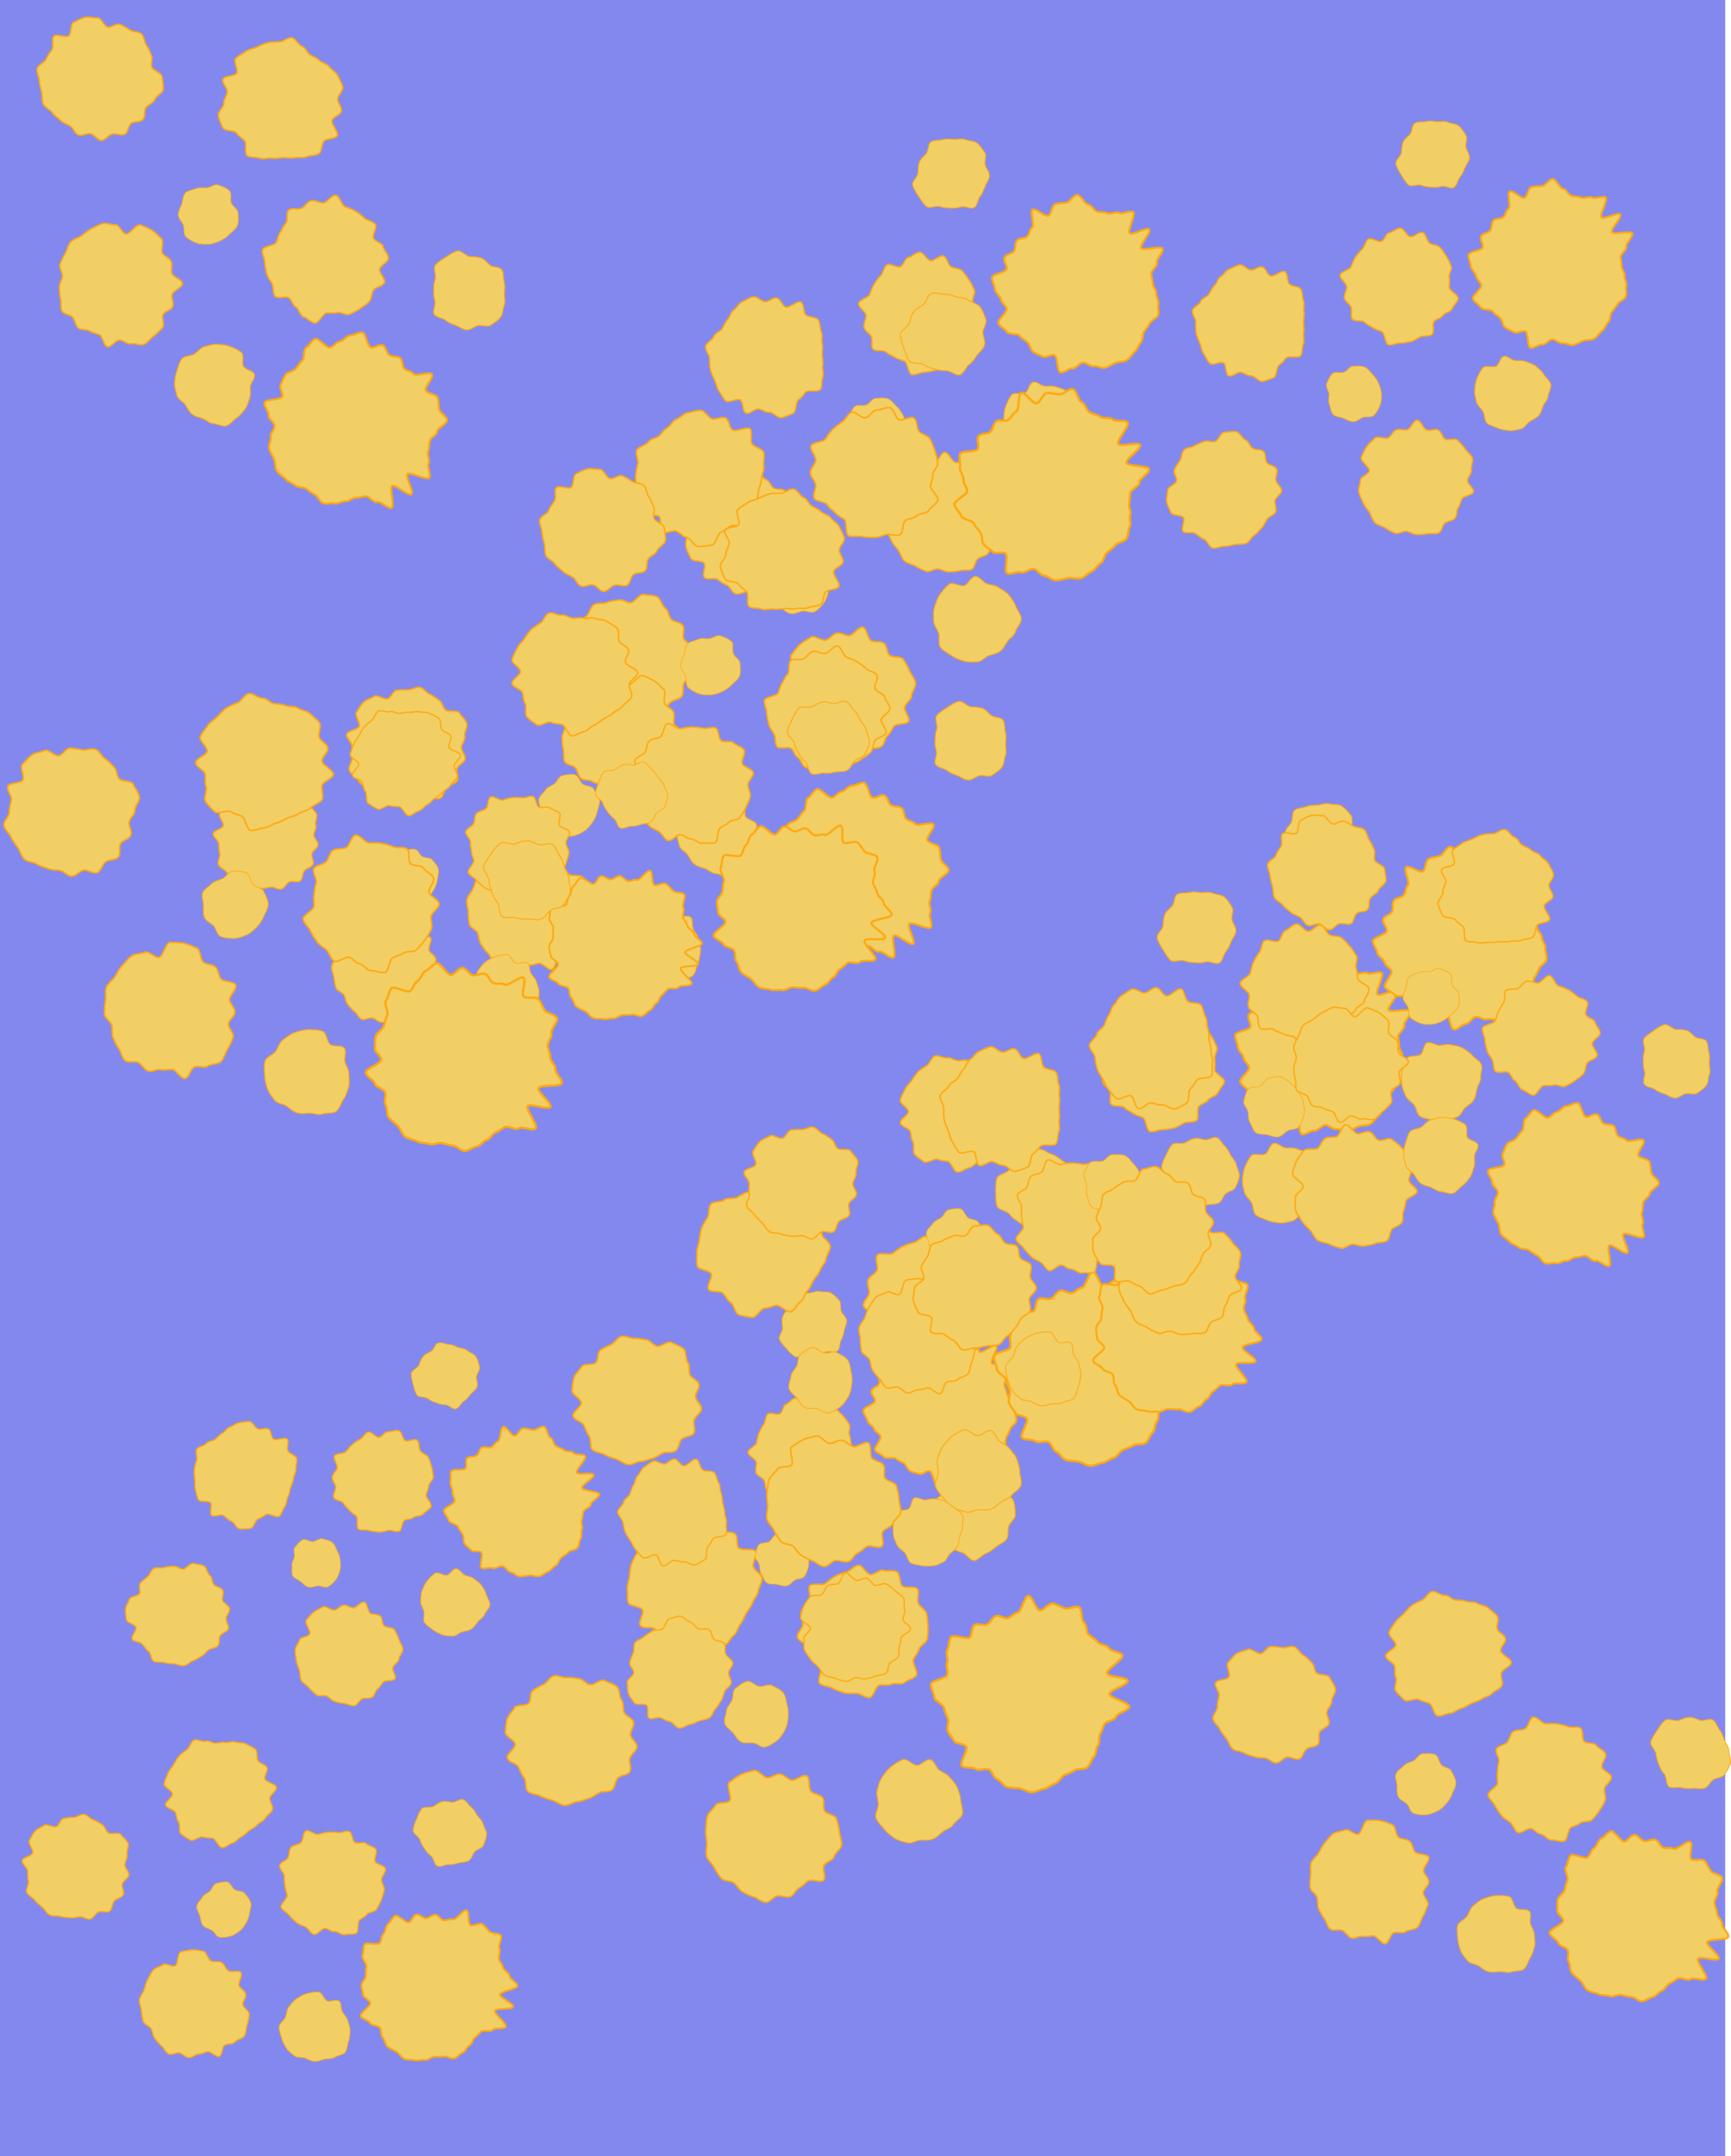
From Idea to Final Result
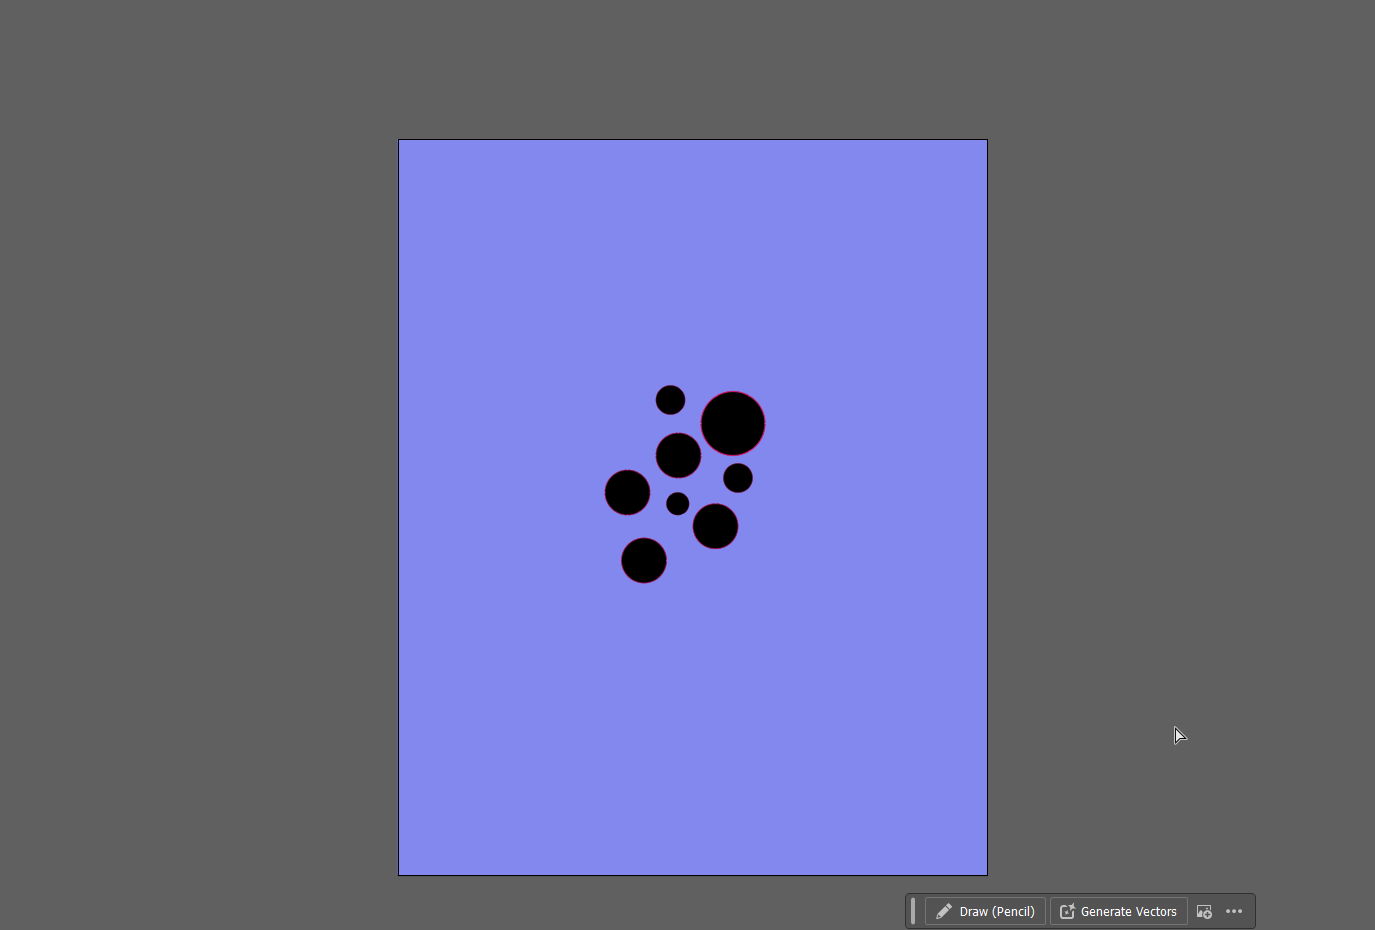
Step 1: Draw Some Circles
Start with a blank canvas and draw a few small circles using the Ellipse Tool (L).
Vary their size slightly — this makes the final result look more natural and organic.
Step 2: Add the Roughen Effect
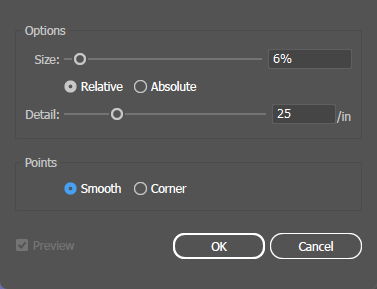
Select all your circles and go to Effect → Distort & Transform → Roughen.
A window will appear where you can adjust Size and Detail.
Experiment with these settings until the edges look slightly uneven or hand-drawn.
Step 3: Adjust the Values
Play around with the sliders until you’re happy with the texture.
Use Smooth for soft, wavy shapes or Corner for a sharper, more angular look.
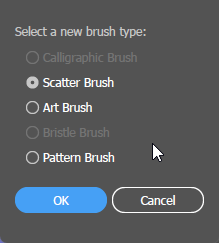
Step 4: Turn It Into a Scatter Brush
Drag your group of circles into the Brushes panel (Window → Brushes).
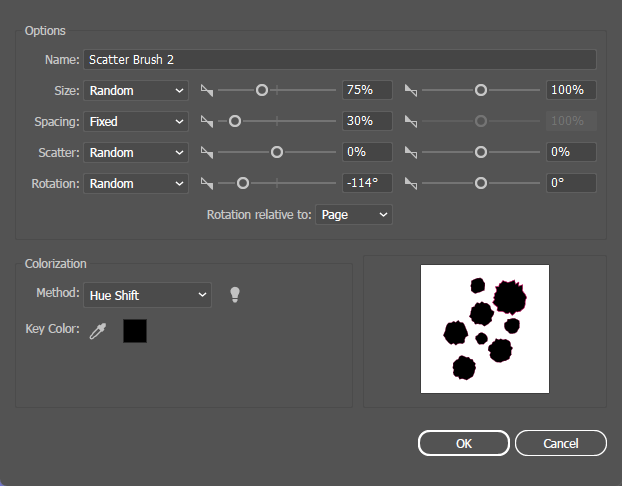
Select New Brush → Scatter Brush.
Here, you can define how often, how large, and in what direction your shapes are repeated.
Step 5: Use the Hue Shift Method
In the Scatter Brush settings, choose Colorization Method → Hue Shift.
This allows you to easily change brush colors while keeping it flexible — perfect for dynamic lines, colorful textures, or decorative accents.
Step 6: Voilà!
Your custom brush is ready to use!
Draw lines, fill shapes, or create decorative patterns with your new brush — and tweak the colors to get a different result every time.

Tip
Save your brush in a separate Illustrator file so you can reuse it in future projects.
