Illustrator
How to Create a Realistic Cheese Illustration in Adobe Illustrator
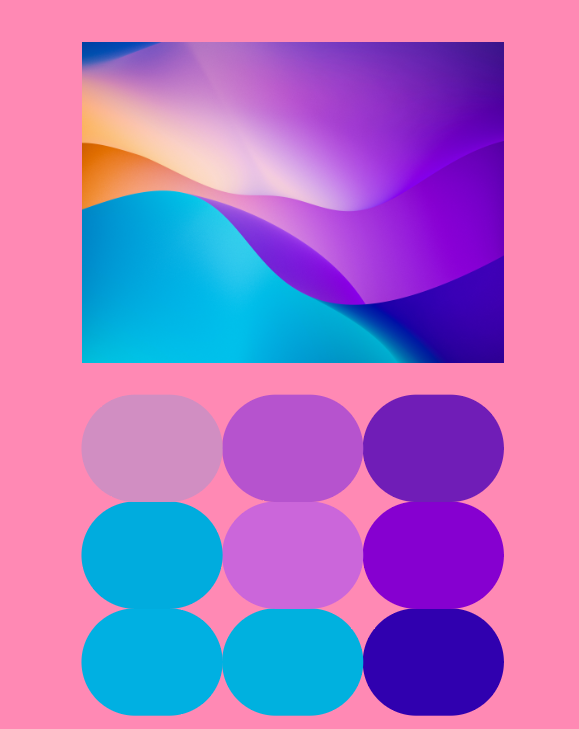
Want to quickly create a color palette from an image in Adobe Illustrator?
With these simple steps, you’ll learn how to turn the colors of any image into a custom color swatch that you can use right away in your designs.
Final Result

From idea to finished design
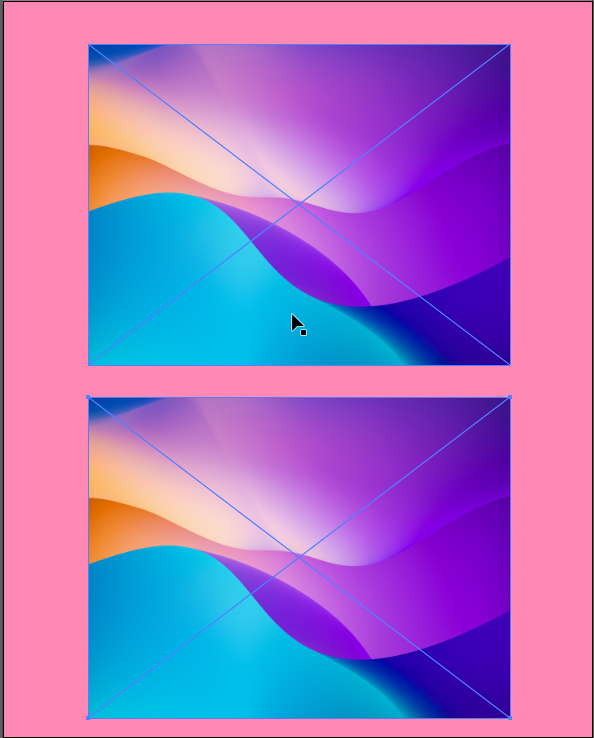
Step 1: Duplicate Your Image
Start by duplicating your image. This ensures you always keep an original version in case something goes wrong during the process.
Step 2: Add Color and Rounded Corners
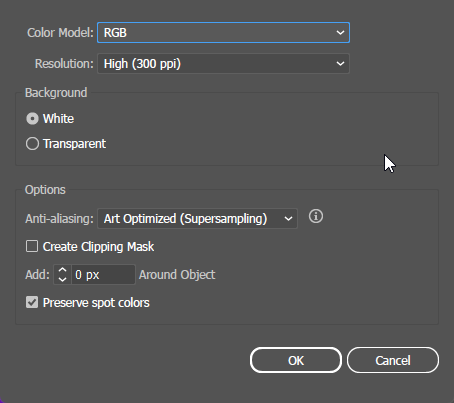
Select the bottom image and go to Object → Rasterize.
This converts your image into a raster format, allowing Illustrator to recognize the colors for creating swatches.
Step 3: Create an Object Mosaic
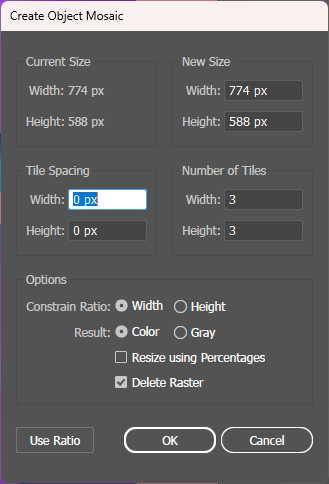
Next, go to Object → Create Object Mosaic.
Adjust the settings such as the number of rows and columns to evenly distribute the colors.
This creates a clean, organized color grid based on your image.
Step 4: Make Round Cells (Optional)
Use the Direct Selection Tool to adjust the shape of the cells if desired.
Turning them into rounded shapes can make your palette easier to read and visually more appealing.

Step 5: Add Colors to Your Swatches
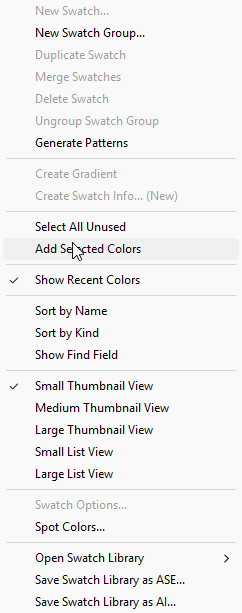
Select the created objects and go to the Swatches panel → Add Selected Colors.
All the colors from your image will now be added to your swatches, ready to use in other designs.
Step 6: You’re Done!
Your custom color swatch is now ready to go.
You can use it for illustrations, logos, or any other creative project in Adobe Illustrator.
