Final Result

From idea to finished design
Step 1: Type your word
Start by typing any word or name you want to design. Choose a font that fits your creative style.

Step 2: Convert your text to shapes
Right-click on your text layer and select “Convert to Shape.”
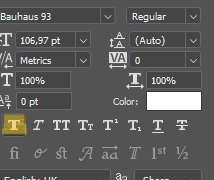
💡 If you see an error about the “Faux Bold” style, turn it off in the Character panel before continuing.

Step 3: Select parts of your text
Use the Direct Selection Tool (A) to click on the areas of the letter you want to modify. You’ll see small blue squares appear — these are anchor points.

Step 4: Play with the shapes
Use your arrow keys (↑ ↓ ← →) to nudge and reshape the selected parts of your letters. Repeat this process for the entire word and experiment with direction and form.
Step 5: Add some color
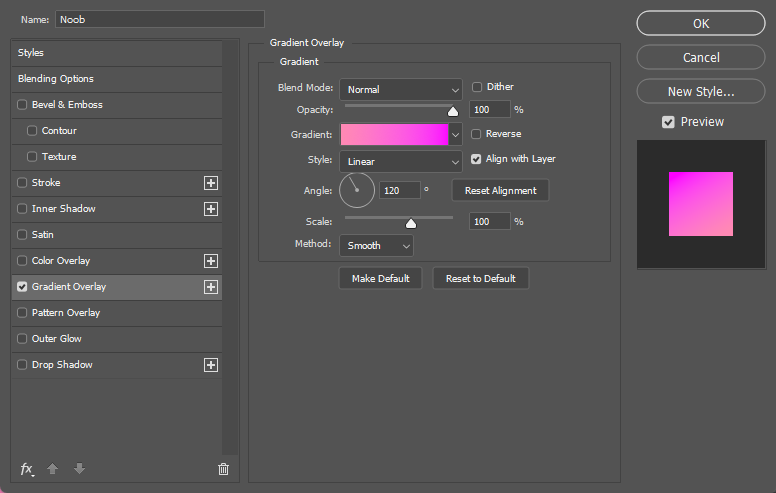
Finish it off with a Gradient Overlay to give your text depth and personality — try combining two bold colors for a modern look.

Step 6: You’re Done!
You’ve successfully turned your text into a creative shape-based design.

