Illustrator
How to Create a Realistic Cheese Illustration in Adobe Illustrator
Want to learn how to create a realistic cheese illustration in Adobe Illustrator?
In this step-by-step tutorial, I’ll show you how to combine shapes, colors, and effects to create a playful yet professional result.
Final Result

From idea to finished design
Step 1: Create the Basic Shapes
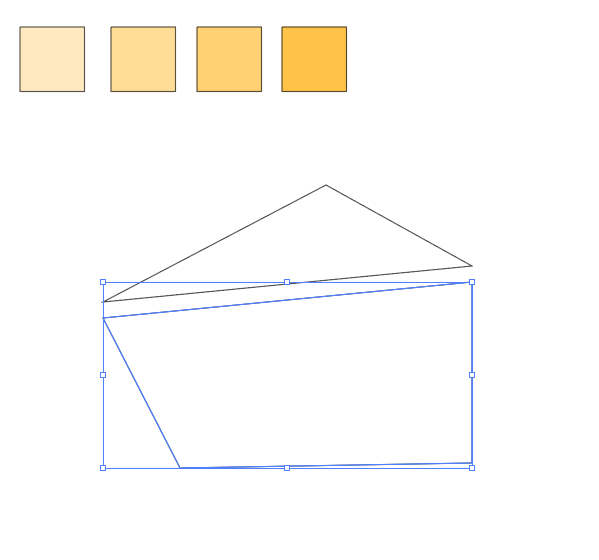
Start by creating two shapes and linking them together.
In the example, they’re slightly separated so you can clearly see the difference between them.
These shapes form the base of your cheese illustration.
Step 2: Add Color and Rounded Corners
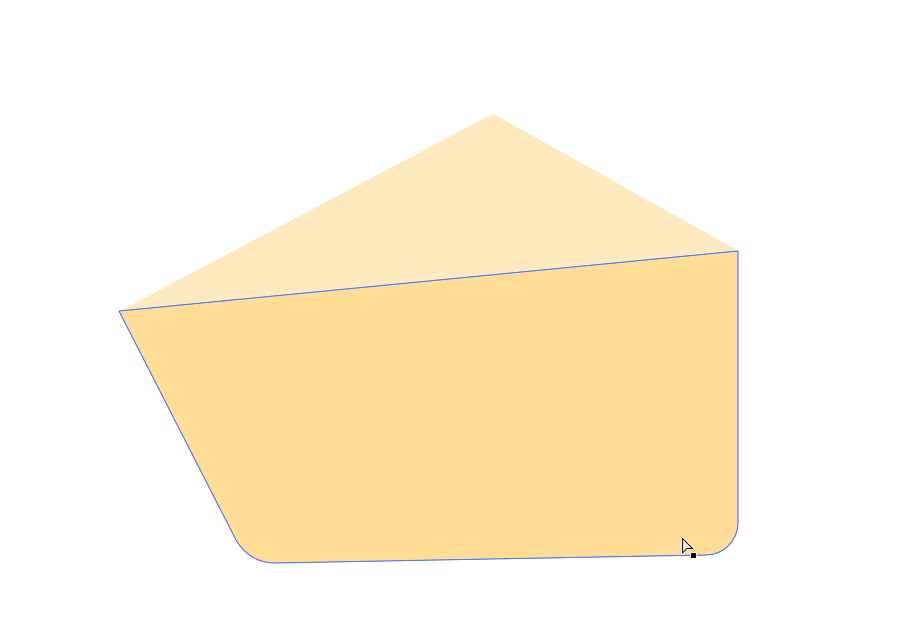
Give both shapes a fill color.
Make the bottom shape slightly darker than the top one to create depth.
Round off the two bottom corners to give the cheese a softer, more realistic look.
Step 3: Create a Circle with a Gradient
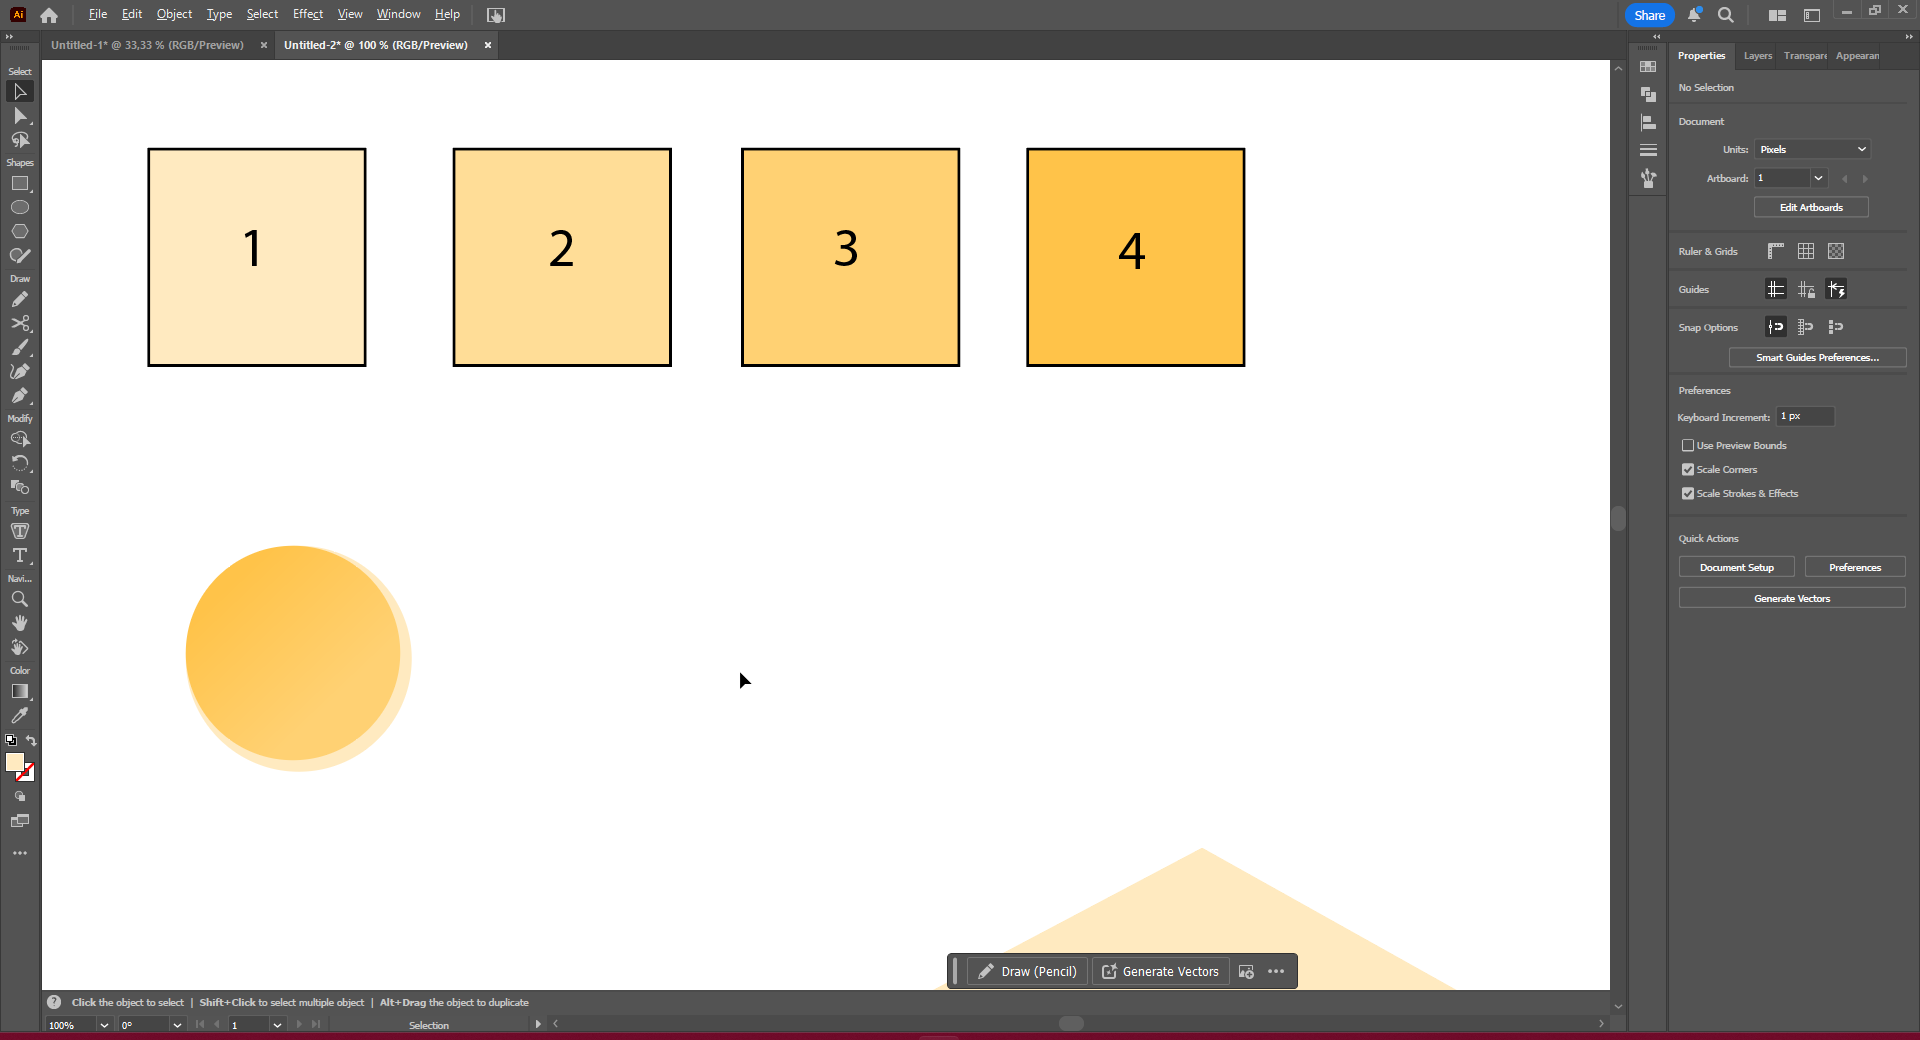
Draw a circle and apply a gradient fill.
Choose a lighter color for the starting point and a slightly darker tone for the end to create a nice transition.
This will be the first of your “cheese holes.”

Step 4: Add a Background Circle
Duplicate the circle and move it to the back.
Give it a lighter shade and position it behind the first circle.
This creates a subtle overlay in the lower-right corner, enhancing the shadow and depth of the cheese.
Step 5: Position the Circles on the Cheese
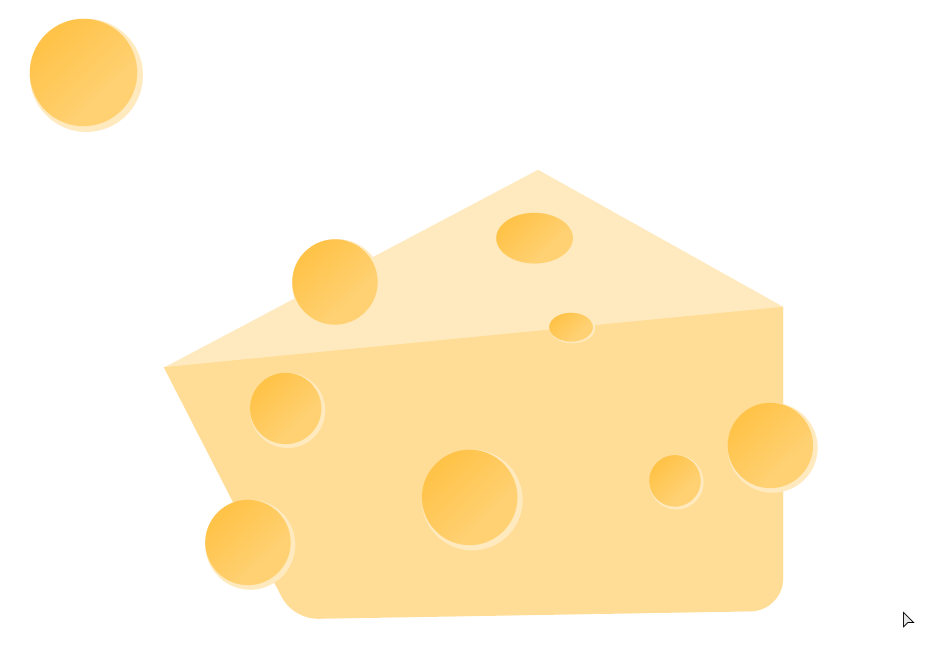
Place several circles on your cheese illustration.
Adjust their size and position until you’re happy with the composition.
In this example, I placed three circles where a bite will later be taken out of the cheese.
Step 6: Draw the Cutout with the Pen Tool
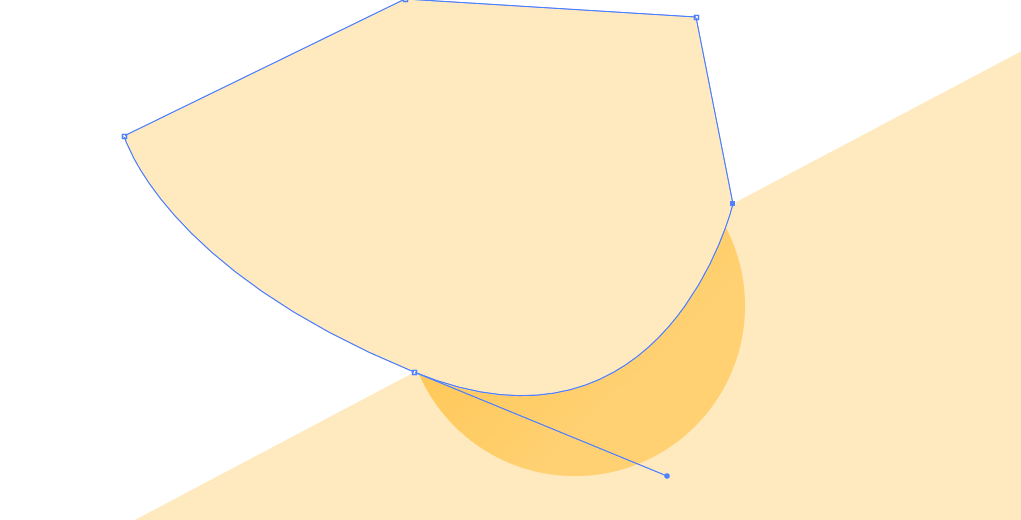
Select the Pen Tool and draw a smooth curve where you want to create a cutout.
This curve will form the contour of the bite mark in your cheese.
Step 7: Select the Curve and the Circle
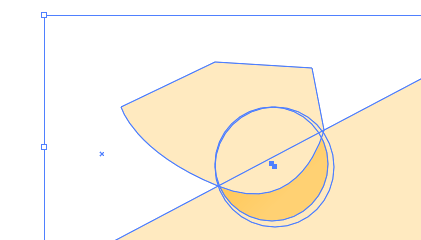
Using the Selection Tool, select both the newly drawn curve and the circle you want to modify.
Step 8: Use the Shape Builder Tool
Grab the Shape Builder Tool, hold Alt (Option on Mac), and click the part you want to remove.
Repeat this step for each circle where you want holes to appear — creating those classic “cheese holes.”
Step 9: Add a Drop Shadow
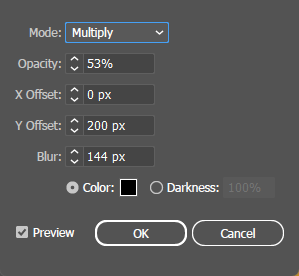
To add more depth, apply a Drop Shadow via Effect → Stylize → Drop Shadow.
Adjust the settings until you achieve the desired level of shading and realism.
Step 10: Done!
You’ve now created a fun and realistic cheese illustration in Adobe Illustrator.
Feel free to experiment with colors, circle sizes, and shadows to create your own unique style.
